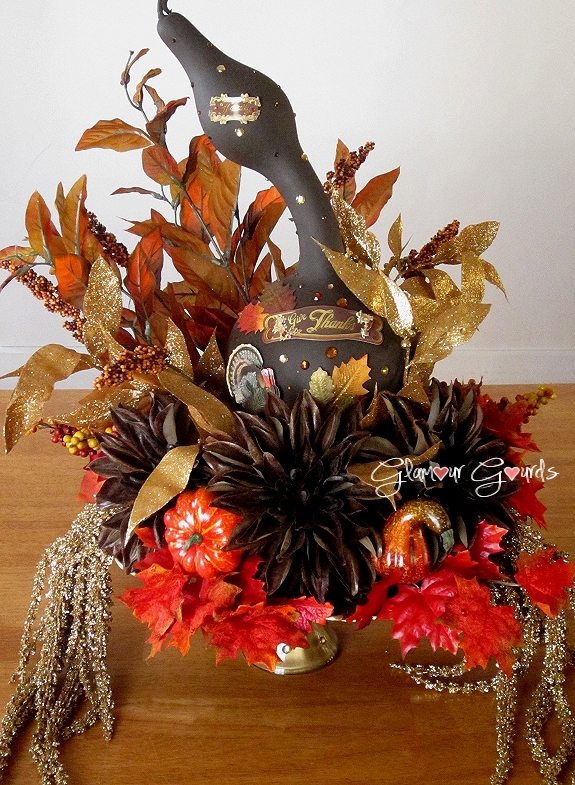
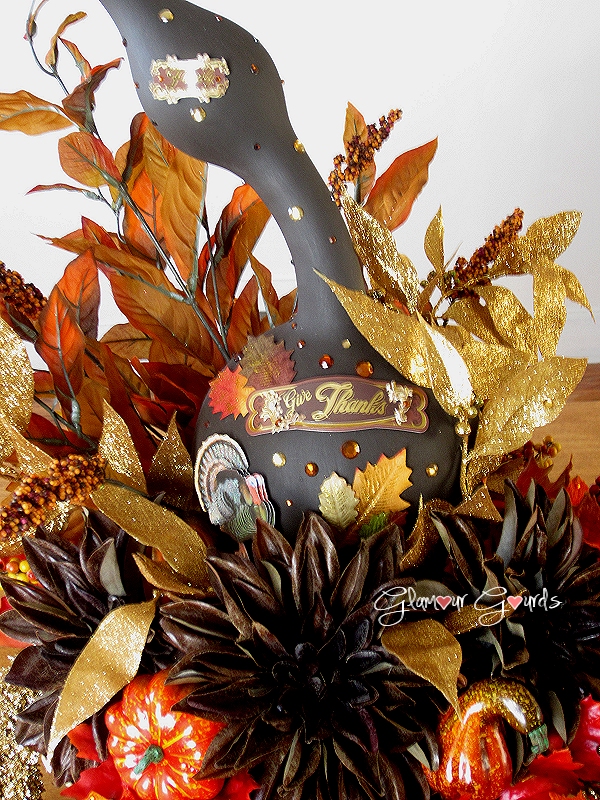
The next gourd project in the Glamour Gourds series, the Thanksgiving Gourd arrives just in time for the family get-together.
This project uses faux flowers and leaves, shiny jewels, and 3-dimensional stickers to make a Glamour Gourd for a Thanksgiving centerpiece or sideboard display. Below are the supplies and steps for making your very own Thanksgiving Gourd.
SUPPLY LISTS
Preparing and Painting the Gourd
– Americana DecoArt, Acrylic Paint, #DA195 (“Bittersweet Chocolate”)
– FolkArt gesso by Plaid, 8 fl oz
Adding the Flowers and Leaves
– Ashland, Fall Bushes (yellow/maroon silk fall leaves and berries)
– Ashland, Fall Bushes (glittery orange and brown silk leaves and berries bush)
– Ashland, Fall Bushes (golden-green silk fall leaves)
– Ashland, Fall Bushes (red-orange velvety fall maple leaves)
– Ashland, Excelsior, 108.5 cu. in. (brown excelsior)
– Ashland, Fall Pumpkins, mesh bag of faux orange pumpkins and gourds
– three (3) Ashland, Signature Stems, Safari Chic, brown silk dahlias
– two (2) glittery gold dangly amaranthus
Attaching the Gourd & Raising the Gourd
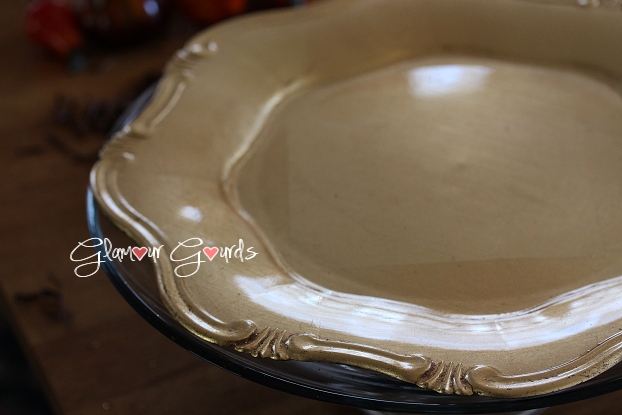
– octagonal scrolled edge gold charger plate
– FloralCraft, Foam, Disc D6125GS, 1 3/16 in. x 5 7/8 in. (30 mm x 149 mm) (green styrofoam disc)
– 2 5/8” W x 3 3/4” H styrofoam, 2 pc mug plug (cylindrical green styrofoam)
Adding the Glittery Gold Leaves
– Ashland, Christmas, Garland, 6 ft (glittery gold leaves and berries on a garland)
– bead landing, 20 Gauge Wire, Gold (123252), 8 yd / 7.3 m (gold wire 20 gauge)
Attaching the Stickers
– Paper House, 3D stickers (one sheet of 3D thanksgiving stickers)
– Recollections individual gold glitter silk fall leaves (individual leaves)
Adding the Jewels and Gems
– a few assorted pale amber jewels from a 7.6 oz tub of Bead Landing Jewels (these are assorted sizes of round acrylic jewels in pale amber, jet black, and clear)
– a few assorted shades of brown and amber gems from a 1 lb tub of ArtMinds gems (these are round gems in assorted sizes and colors)
– Aleene’s acid-free tacky glue, all-purpose adhesive, 4 oz. (clear glue)
Creating a Pedestal for the Gourd
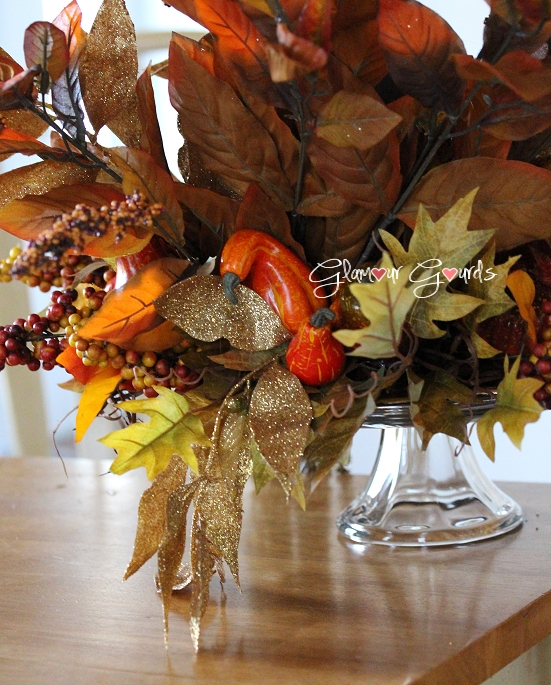
– 10” clear glass cake stand
– Rust-Oleum American Accents, Bright Shiny Metallic Colors, Oil-Based, Gold Metallic Finish #7954 (gold paint)
Signing the Gourd
– Pen-Touch gold quick-dry, permanent, opaque metalic marker, 0.7mm extra fine point (metallic gold marker)
Tools & Miscellaneous Supplies
– Artist’s Loft, 1 1/2” mop paintbrush
– scissors
– tweezers
– xacto knife
– hot glue gun
– needle nose pliers
– wire snips
– large scissors
INSTRUCTIONS
Preparing and Painting the Gourd
– Choose a fully dried hardshell gourd.
– Lightly sand the gourd to remove grunge and to help paint adhesion.
– Wipe down the gourd with a damp paper towel and let dry.
– Using a 1 1/2″ mop paintbrush, apply the first coat of Gesso mixed with just enough water to make a paint that goes on smoothly. Let the first coat of paint dry.
– Apply additional coats as needed, allowing time to dry between each coat.
– Mix paint (“Bittersweet Chocolate”) with Gesso and a little water and apply to the gourd. This is for applying a darker base coat for the final coats of paint, so a couple of coats might be needed.
– For the final coats, mix the paint (“Bittersweet Chocolate”) with just enough water to create a paint that will go on smoothly and apply it to the gourd. Extra coats can be applied as needed, but this is a very dark paint and one or two coats should be enough to get a rich, dark brown gourd. Allow the final coat to dry thoroughly before continuing to the next step. Note: This is a dark paint that shows marks easily, so be careful to not scratch it when adding the decorations.
Adding the Flowers and Leaves
– Trim the stems to 4 inches on each of the dahlias. Note: Save the stem scraps for use in the optional section “Raising the Gourd.”
– Push the dahlia stems into the front edge of the styrofoam disk. The dahlias are large and bushy, so leave enough room for the gourd to sit on the disk once the dahlias are in place.
– Trim some of the length off the amaranthus stems, leaving enough stem length for each amaranthus to spill out from behind the outer two dahlias and cascade or sprawl out beneath the arrangement. At this point, it is helpful to elevate the arrangement to get a better idea of the final effect of the amaranthus.
– Push the two amaranthus into their positions in the styrofoam disk.
– Trim off the thick end of the glittery orange and brown bush to create five or six smaller sprays of berries and leaves.
– Bend the bottom end of each spray into a 90 degree turn and push it into the back edge of the styrofoam disk. Again, leave enough room for the gourd to sit on the disk with the leaves and berries in place.
– Apply hot glue to the base of each of the sprays where they are inserted into the styrofoam disk to help hold them in place.
– Clip the red velvet maple leaves into separate sprays.
– Create four separate groups of red velvet maple leaves and insert one group between each dahlia and one group on each side of the styrofoam disk.
– Clip the golden-green fall leaves into separate sprays.
– Create two separate groups of golden-green fall leaves and insert them into the back of the styrofoam disk, helping to hide the base of the stems of the glittery orange and brown bush.
– Trim the yellow/maroon leaves and berries spray into five individual sprigs with one berry clump per sprig and insert one directly into the left and right sides of the styrofoam disk, mainly toward the back half of the display. Continue inserting the other three sprigs around the back of the display, with two left of center back and one singly to the right of center back.
– Tuck some brown excelsior all the way around the top edge of the styrofoam disk, behind the flowers and leaves. Leave the center of the styrofoam disk bare where the gourd will sit.
– Use hot glue to attach one faux gourd between each dahlia, a group of three faux gourds on the back of the display, and one or two faux gourds on each side of the arrangement to help fill in the display.
Attaching the Gourd
– Apply hot glue to the center of the charger plate and press the styrofoam disk into place on the charger plate.
– Place the gourd in the middle of the styrofoam disk. If the main body of the gourd has enough area such that the embellishments can be added in the exposed space above the flowers and leaves, then the gourd can be hot glued to the styrofoam disk at this point. Otherwise, continue to the next section.
Raising the Gourd (Optional)
– If the main body of the gourd doesn’t sit high enough above the flowers for the embellishments to be visible (see the previous step), then cut a small piece of cylindrical styrofoam that will be tall enough to raise the gourd above the flowers and leaves.
– Using three of the wire stems saved from trimming the dahlia stems, insert three stems into the cylindrical styrofoam and push the assembly into the middle of the first styrofoam disk. This will help prevent the weight of the gourd from breaking the two pieces of styrofoam apart if the display is tilted for any reason.
– Slightly raise the cylindrical styrofoam and fill the space between the two pieces of styrofoam with hot glue. Push the cylindrical styrofoam back into place against the first disk.
– If necessary, fill any empty spaces between the gourd and flowers and leaves with additional excelsior. This is mainly to help hide the styrofoam. For the most part, the excelsior won’t be visible as it is pretty well hidden by the flowers and leaves. The dark color of the excelsior also helps it vanish into the shadows whereas the styrofoam may be visible since it is green.
Adding the Glittery Gold Leaves
– Cut three long and four short sections from the gold leaf garland, using all but about one foot of the garland.
– Wrap two of the long sections with gold wire to add some strength to the sections. Use enough wire to wrap down the full length of each section, leaving some wire at the end of the stem to be folded and twisted back on itself and then twisted at least partway back up the section.
– For both long wired sections, push the twisted end of the wire into the styrofoam disk, with one wired section on each side of the arrangement.
– Insert a short section into the back of the display so that it cascades from among the faux gourd trio. Hot glue it into place by putting dabs of hot glue on the back of select leaves and pressing them against the golden-green fall leaves.
– Place the three remaining short sections to the left, right, and front of the display. Attach their bases to the gourd or surrounding flowers and leaves using hot glue dabbed onto the undersides of select leaves.
– Hot glue the third long section to the gourd, scrolling it up the body and along the neck of the gourd. To hide its lower cut end, tuck it in behind the silk or velvet leaves around the base of the gourd. If necessary, hot glue the silk or velvet leaves in place to keep the cut end of the section hidden.
Attaching the Stickers
– Note: The following stickers will be used in this project: Give Thanks, the turkey, Family, Traditions, and the pumpkin. None of the other stickers are used in this project.
– Use an xacto knife to slice the gluey backings off of the stickers so that they will lie flat against the gourd.
– Pressing and bending each sticker into the desired position on the gourd, see if they sit relatively flat against the gourd. A larger gourd will allow the stickers to lie flat while a smaller gourd will cause the upper layers of the stickers to “fly out” from the gourd. If the stickers seem to want to “fly out”, use little dabs of hot glue to tack the upper layers of the stickers down onto the bottom layer.
– Apply hot glue to the back of a sticker and then attach it to the gourd. Use enough hot glue to reach from one end of the sticker to the other without getting any hot glue near the sticker’s edge or else the hot glue will ooze out from under the stickers when they are attached to the gourd. Attach the stickers in the locations indicated in the next few steps.
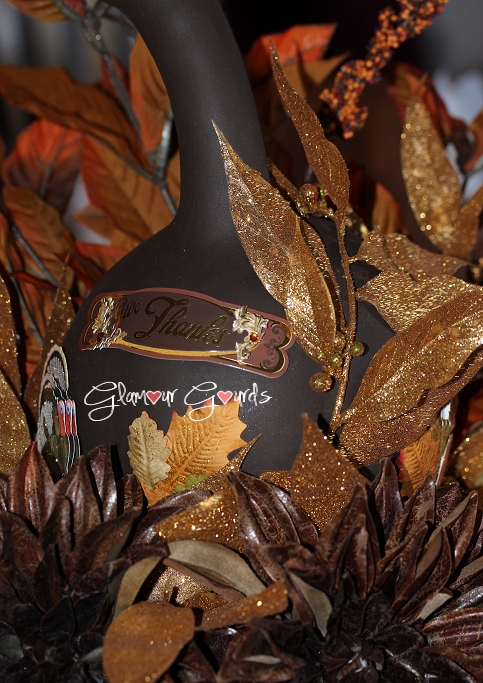
– Attach the large Give Thanks sticker and the turkey sticker to the front of the gourd.
– Attach the Family sticker on the head of the gourd.
– Attach the Traditions sticker and the Pumpkin sticker on the right side of the gourd.
– Select a couple of the individual glittery silk fall leaves for the Give Thanks sticker and the Traditions/Pumpkin sticker combo. Position the leaves as desired, then bend down the top half of each leaf and apply a little bit of hot glue to the back and press the leaf back against the gourd.
Adding the Jewels and Gems
– Use clear glue to attach jewels and gems of various sizes and colors to the gourd as described in the steps below. I used various shades of amber, orange, and brown that complement the color of the gourd, the silk flowers and leaves, and the jewels that came preattached to the stickers.
– Attach a few small pale amber jewels around the gold leaf garland section and up the neck and head of the gourd.
– Intersperse a few tiny brown gems among the small pale amber jewels on the head and neck.
– Mix various sizes and colors of gems among the stickers and on the back of the gourd to fill in the blank spaces.
– Glue small red and orange gems onto the red velvet maple leaves for extra glitz.
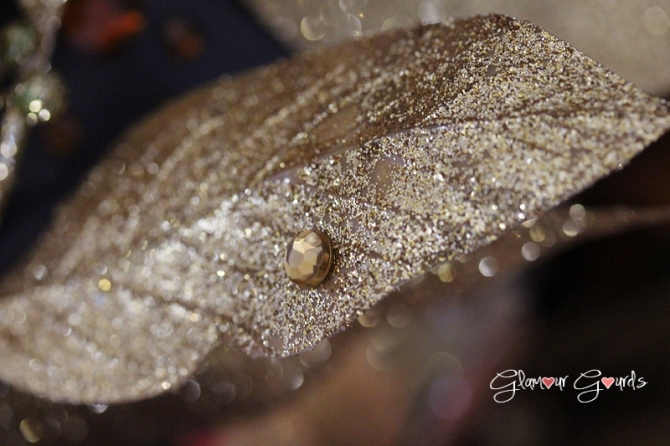
– Glue small golden gems onto a few leaves of the gold leaf garland section that winds up the side of the gourd.
Creating a Pedestal for the Gourd
– Wash the cake stand with warm soapy water to remove fingerprints, dust, and any adhesive that remained after removing the price tag. Dry thoroughly.
– Use a disposable paintbrush or sponge brush to apply a thin coat of gold paint to the top of the cake plate and to the interior of the cake stand’s foot. To achieve a uniformly circular application of paint on the cake plate, dip the paintbrush into a little paint and then turn the cake plate by rotating the foot while simultaneously holding the paintbrush steadily against the surface of the cake plate. Use vertical strokes when painting inside of the foot. Additional coats can be added to thicken the paint and prevent light from shining through the glass; however, the new coats may partially remove any previous coats. In that case, use a slightly thicker application of the paint, but not so thick that it runs and forms puddles on the glass. Place three or four taller objects underneath the cake plate to elevate the cake stand, allowing any excess gold paint to drip out of the foot while it is drying. If too much paint begins to drip from the foot, gently blot the drips with a paper towel. Be careful to remove only the dripping paint.
– Apply hot glue just inside of the top rim of the cake plate and press the charger plate down onto the cake plate. Work quickly so that the hot glue doesn’t cool before the charger plate is put in place.
– Use clear glue to attach pale amber jewels around the outside of the cake stand’s foot.
Signing the Gourd
– Use a metallic gold marker to sign the underside of the charger plate.
– I used clear glue to attach two pale amber jewels to my logo.
NOTE: The glass cake plate is heavy. To avoid detaching it from the gourd display, carry the display by placing both hands underneath the cake plate and lifting. This also helps ensure that the jewels don’t detach from the cake stand’s foot.
Now the Thanksgiving Gourd is done!









You must be logged in to post a comment.